The size of the canvas board is 12 x16. Once I decided on the design, I used a pencil to draw it in. I just used basic acrylic paints to add all the color. Then I used a black paint pen out outline all of the different colors in the painting. That gave it a much more crisp look. Then I added the name in the corner by cutting vinyl on my Silhouette machine. In the past I have had trouble getting the ribbon to attach to the back using hot glue and other options. So, this time I had my handy-dandy hubby use his drill to make two small holes in the top so that I could thread the ribbon through and tie in a bow. It worked great.
Tuesday, August 16, 2011
Teacher Name Signs
The size of the canvas board is 12 x16. Once I decided on the design, I used a pencil to draw it in. I just used basic acrylic paints to add all the color. Then I used a black paint pen out outline all of the different colors in the painting. That gave it a much more crisp look. Then I added the name in the corner by cutting vinyl on my Silhouette machine. In the past I have had trouble getting the ribbon to attach to the back using hot glue and other options. So, this time I had my handy-dandy hubby use his drill to make two small holes in the top so that I could thread the ribbon through and tie in a bow. It worked great.
Friday, August 5, 2011
Pink Lemonade Pie
Here's what you will need:
6 oz. can frozen pink lemonade concentrate (thawed)
14 oz. can sweetened condensed milk
8 oz. Cool Whip, thawed
1 graham cracker crust
Combine first 3 ingredients and pour into crust. Place in freezer to set before serving. Store in freezer.
I often us around 8 oz. of pink lemonade concentrate to make it more tart and I also add a drop or two of red food coloring to make it more pink.
Enjoy!
Thursday, August 4, 2011
Customized Clip Boards for Back-to-School
If you would be interested in a custom clip board for your child for back to school, just let me know. They are $15. I have just about any color vinyl imaginable and the design/lettering possibilities are endless! I have the clip boards in stock, so I can get it done before school starts.
Wednesday, August 3, 2011
Chocolate Chocolate Chip Sour Cream Pound Cake
Here is what you need:
1 pkg devil's food cake mix
1 (3.9oz) pkg instant chocolate pudding mix
4 large eggs
1 cup sour cream
1/2 cup warm water
1/2 cup vegetable oil
1 pkg. semi sweet miniature chocolate chips
Directions:
1. Preheat oven to 350.
2. Spray bundt pan with cooking spray.
3. Combine everything except the chocolate chips in a large mixing bowl. Mix on low for 1 minute, then increase speed to medium for 2 minutes. Batter will be very thick.
4. Fold in the chocolate chips.
5. Bake for 45-50 minutes. Do not over bake! (If you test with a knife, it may come out covered in chocolate due to all of the chocolate chips in the cake. Just make sure the actual cake batter is done)
6. Allow to cool in the pan for 15 minutes. Then run a knife around the edges of the cake. Turn out onto cake plate. We like to eat it while it's still warm from the oven!
Enjoy!
Teacher Treats
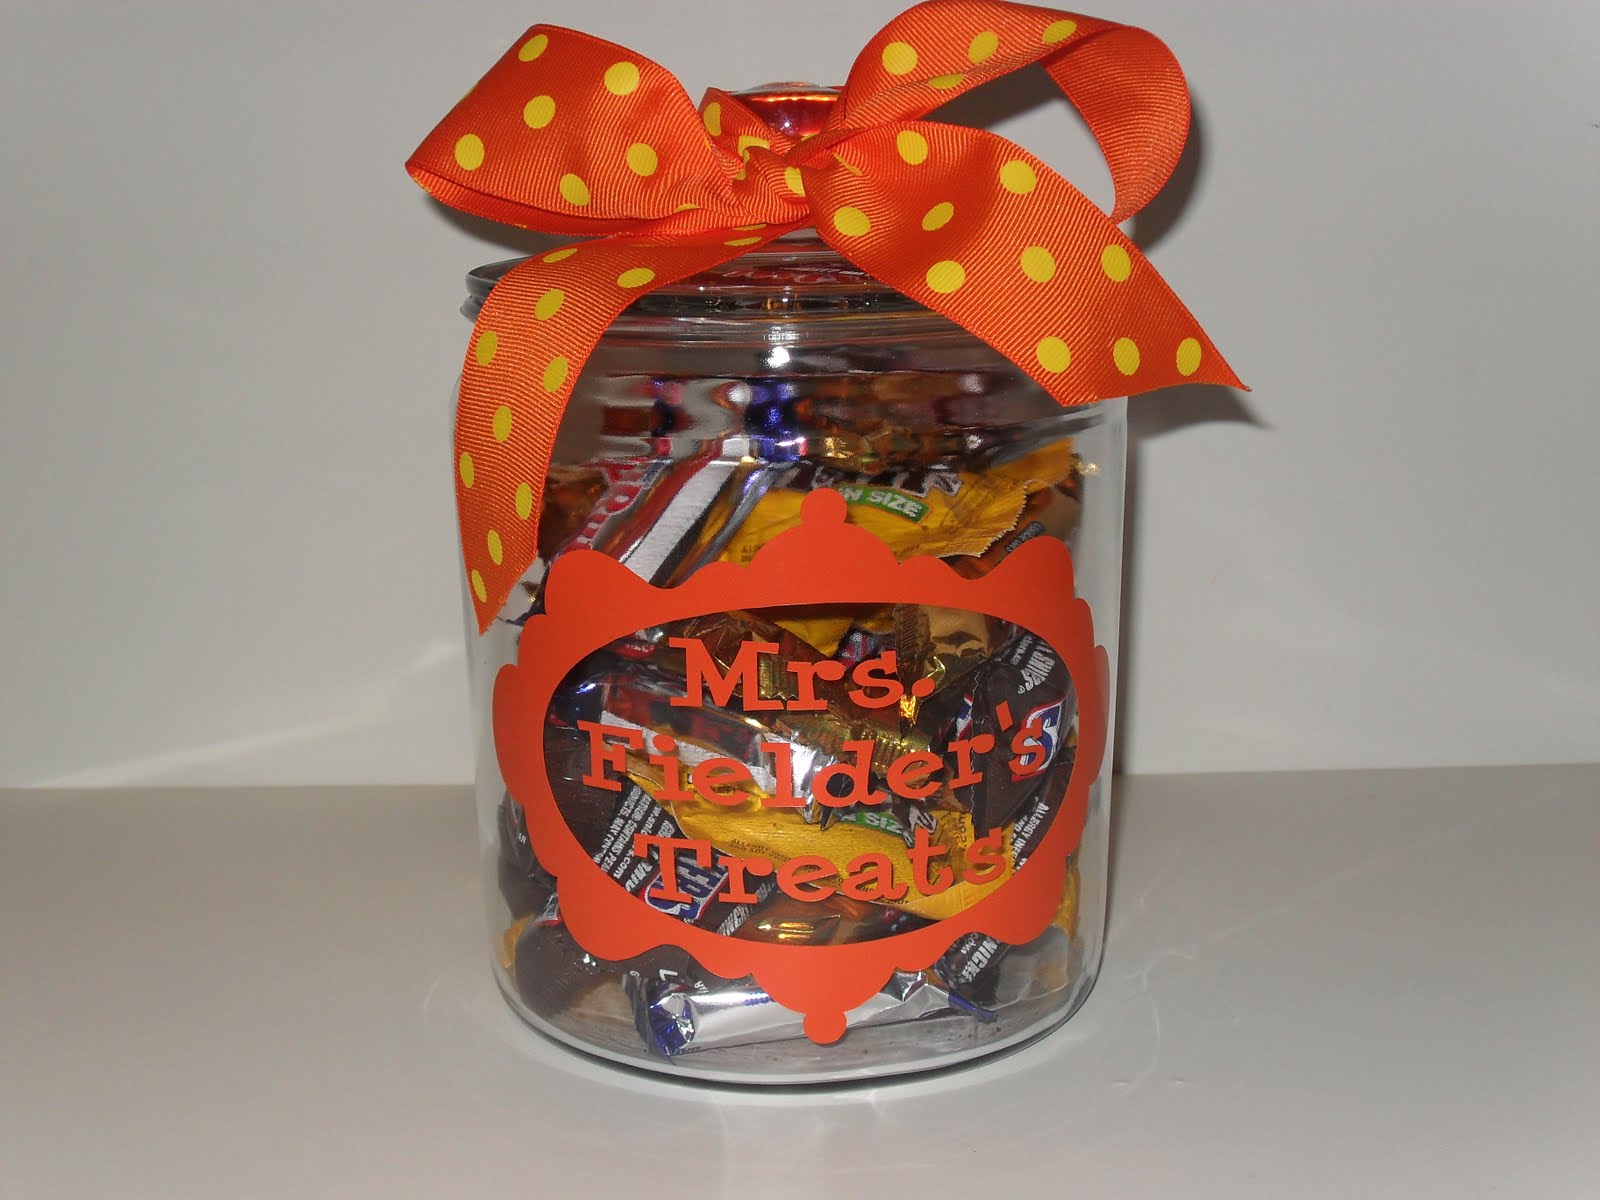
If you would like for me to make you a cute little jar like this for your child's teacher on the first day of school, just give me a call! (501-223-9515) You can choose your color and design. The cost is $15 and the jar measures 8" high by 5.5" wide. (Candy and ribbon not included).
I will have more Back-To-School gift items posted in the next day or so. Perfect for new teachers, college students and first day of school "happy" gifts. Some of the items I am working on include: customized clip boards, buckets, plastic tubs, etc. As always, I can personalized items that you bring to me, as well. Contact me today for more information.
Monday, July 25, 2011
Pepperoni Rolls
Many, many years ago, a friend served up some delicious pepperoni stuffed rolls at a get together I attended. I believe I asked for the recipe, but for whatever reason, she did not want to part with the recipe. I always wondered how she made them. Over the years, I kept telling myself I was going to try and figure it out. Well, last week, I did just that. This may not be a new recipe to some folks out there, but this was the first time I had ever attempted it. It's super easy and was a HUGE hit with the whole family!
Here is what you will need:
Frozen dinner roll dough
Pepperoni slices, chopped into small pieces
Grated mozzarella cheese
Pizza sauce
1/4 c. Butter, melted
1/2 tsp. Garlic powder
Grated Parmesan cheese
1. Place frozen dough on a cookie sheet sprayed generously with cooking spray. Cover with plastic wrap, that has also been sprayed generously with cooking spray. Allow dough to rise for approx. 3 hours. The dough will be very puffy (see picture above). (Note: try not to place dough balls too close together or they will "grow" together and be harder to get apart for the next step).
2. Take one roll and pull it out, stretching it out in all directions. It will flatten it out.
3. Place 1-2 tablespoons of pepperoni pieces in the center of the dough.
4. Next, top with 1-2 tablespoons of grated mozzarella cheese.
5. Now take the edges of the dough and fold them over the filling. Squeeze the edges together, sealing them closed.
6. It will look like this. (Sorry for the blurry pictures. I'm not a good one-handed photographer!)
7. Place all the rolls in a greased casserole dish and cover with plastic wrap. Allow rolls to rise one hour.
8. Remove plastic wrap and bake at 350 for 18-20 minutes. Rolls should be golden brown.
9. Remove from oven and brush with melted butter, mixed with garlic powder. If desired, sprinkle with Parmesan cheese. Allow to cool approx. 5-7 minutes.
Serve with warmed pizza sauce for dipping.
I plan on experimenting with other pizza toppings. The possibilities are endless! This would also be a fun meal time activity for kids to help with, as well. Enjoy!
Here is what you will need:
Pepperoni slices, chopped into small pieces
Grated mozzarella cheese
Pizza sauce
1/4 c. Butter, melted
1/2 tsp. Garlic powder
Grated Parmesan cheese
8. Remove plastic wrap and bake at 350 for 18-20 minutes. Rolls should be golden brown.
I plan on experimenting with other pizza toppings. The possibilities are endless! This would also be a fun meal time activity for kids to help with, as well. Enjoy!
Where have I been???
Hello everyone. It's been way too long since I posted anything on my blog. I guess I've been caught up in all the "activities of life." I spent nearly 2 weeks prepping for and recovering from a garage sale. Note to self: Do not plan any more garage sales in the month of July! It was just way too hot! Sales were good up until mid-morning. I think all the bargain shoppers had decided it was too hot to get out as well! But, we did manage to get rid of a lot of "stuff." My closets look great and my garage has never been so clean! Everything that didn't sell, we donated to a local store where the proceeds will benefit the Big Brothers/Big Sisters organization.
Now my mind is buzzing with ideas for Back-To-School teacher gifts. So, stay tuned for that post, coming soon! I am also going to be having a Cleverly Creative Girl inventory sale. I've got several buckets, jars and miscellaneous items that I'd like to clear out (so I can have my dining room back!).
Well, that's all for now. Just wanted to let you know where I've been and what's to come. I may post a recipe later today, as well. Happy Monday everyone!
Now my mind is buzzing with ideas for Back-To-School teacher gifts. So, stay tuned for that post, coming soon! I am also going to be having a Cleverly Creative Girl inventory sale. I've got several buckets, jars and miscellaneous items that I'd like to clear out (so I can have my dining room back!).
Well, that's all for now. Just wanted to let you know where I've been and what's to come. I may post a recipe later today, as well. Happy Monday everyone!
Subscribe to:
Posts (Atom)