Showing posts with label door. Show all posts

Tuesday, June 11, 2013

School's Out for Summer: Pickin' Up the Paintbrush!

  Pickin' Up the Paintbrush

Aaahhh!  Summer has arrived!  At last, the hustle and bustle of the school year has come to a close and now I am free to paint to my heart's desire!  And that's just what I've been doing!  Take a look at some of the recent creations from my Cleverly Creative Girl business.  I am having so much fun  painting giant letters and other fun shapes.  Feel free to contact me if you would be interested in one of my creations.  I've been shipping them out to California, Texas, Florida and more.  

Some of the pictures were taken before I had added the hanger and ribbons.  All the letters, cross and the tie are made from 1/4" foam board.  They are light and will not scratch up your front door.  The beach ball is made from canvas material.  

I am working on some new designs so check back regularly!  As always, check out the  "My Shop" section of this website for great gift ideas.  I am always willing to consider doing other custom projects, so let me know if you have an idea.  

Be blessed,

Melony  (aka Cleverly Creative Girl)


For more information or to order 
a door hanger or other item,
please contact me at:

Cleverly Creative Girl
Melony M. Fielder
Email: cleverlycreative@gmail.com
Phone: 501.223.9515




Saturday, May 26, 2012

Onesie Door Hanger

Here is my latest creation!   A sweet friend at work is expecting her first grandchild and wanted something special to go on her daughter's door.   The nursery is going to be lavender, so I thought a lavender onesie would be a cute decoration.    She loved it!!   The fun door decoration is made out painted canvas and was really simple to do.   I will be adding this design to my Cleverly Creative Girl Shop on this website.   Other colors and styles available.  Please let me know if you need one of these cute designs for your next baby shower or new addition!  

Have a blessed day!

Melony
aka Cleverly Creative Girl

Friday, April 6, 2012

Easter Cross Door Decor


Well, now that it is Easter weekend, I finally finished the cross I had started working on a couple months ago. If you recall, this cross was a leftover foam board cutout from the moss covered crosses I made last year. It had been sitting in my garage all year just waiting for something to be done with it.

So, I finally brought it in and started doodling on it with paint. I started out by painting the cross a bright spring green. Then I just started making random flower shapes with a variety of colors.

Once it was dry, then I went back in and added detail and outlines with paint pens. I just LOVE how it turned out. It looks so fresh and springy on my black front door. It really pops from the street. Then I just added some fun orange polka dot ribbon for a hanger. It was so easy! I wish I had gotten it done sooner, but it's been a little busy around here. I plan on keeping it up well after Easter is over.

Hoping that you take time to celebrate the true meaning of this holiday, the death, burial and resurrection of our Lord and Savior Jesus Christ! He is Risen! He is Risen indeed!

Blessings,

Melony
Cleverly Creative Girl

Monday, September 5, 2011

Football Spirit For Your Door

We've got spirit, yes we do!
We've got spirit, how 'bout you?


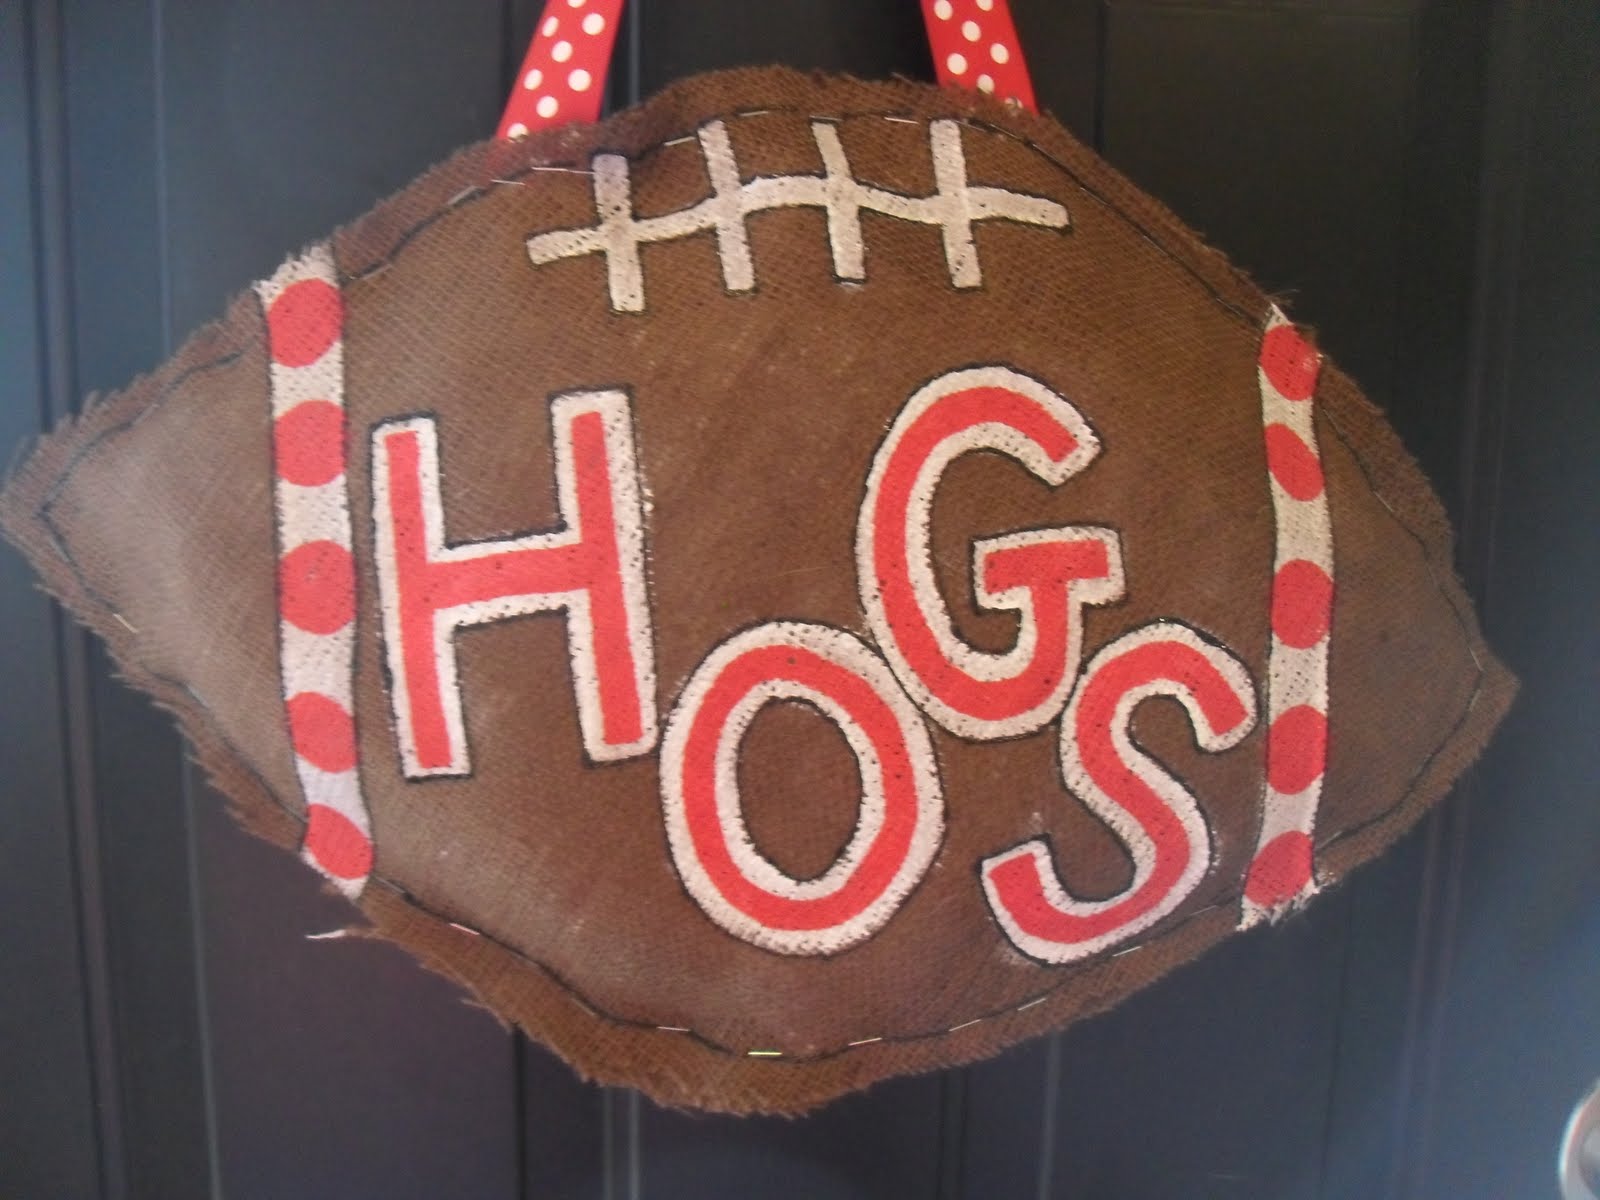
If you've been in stores or online lately, you've probably seen these cute football door decorations. They're everywhere! About a week, I got together with some of my creative friends, (Stacy, Amanda and Amanda's neighbor) and we made our own footballs. They turned out super cute and were fairly easy to make. They are made out of brown burlap, paint, ribbon, staples and plastic sacks (for stuffing).
Here is a close-up of the one that shows my Razorback support!


I also made one for the school where I teach and my children attend,
Little Rock Christian Academy. Go Warriors!!

I would be happy to make one for your team! They are $25 each.
Just let me know! Football season is here!
Don't forget to show your team spirit!!

Blessings,

Melony
Cleverly Creative Girl

Wednesday, June 8, 2011

Easy Giant Flower Door Decor


For my first official post, I thought I would share a super easy way to make something fun for your front door. I love having decorations on my front door and I love to change them out regularly for all the various holidays/seasons. In order to do that, it has to be something relatively quick and inexpensive to make. This project uses very little supplies and doesn't require special tools or extensive crafting ability. I originally got this idea from my wonderfully artistic friend, Stacy, who shared how to make a giant pumpkin door decoration in this post.

I made this fun giant flower last week when I wanted something bright and summery to go on my door. Here is what you will need to make this project:

brown package mailing paper
acrylic paint
black sharpie
stapler
something to stuff it with (grocery bags, newspaper, etc)
ribbon

  1. First, start by lightly drawing your design onto your paper. I actually used the lid of a cookie jar to make the center of my circle. Then I took a piece of computer paper and cut out a shape for a petal. Then I simply traced the petal shape around the center circle, making sure that they petals overlapped quite a bit.
  2. Now the fun begins! Paint your flower in your favorite summertime colors. I chose a bright yellow for the center and hot pink for the petals. Make sure the colors you choose are bright and contrast with your door color. That way, your pretty flower will show up great from the street. (Note: My front door is protected with a glass storm door, so my flower will be protected from the weather. However, if your flower will not be protected, you should probably put a couple coats of Mod Podge or a spray on sealer on the front and back sides of your flower to protect all your hard work.)
  3. After the paint has dried, take a black sharpie and outline your flower. I tend to use a series of "dots" and "dashes" to outline my drawings, instead of one continuous line. Do whatever makes you happy. After all, this is your creation and there are no rules here! I also decided to add a scripture verse around the center of my flower.
  4. Next, take a second piece of brown paper that is the same size as the one with the flower on it, and place it underneath that page, making sure to line up the edges. Next, go around the edges of your paper and staple the two sheets together in a few places on each side. This will keep your two pages together and you can cut both pages out at the same time. This will insure that the front and back sides of your decoration are the same size and match up perfectly.
  5. Cut out your flower. (Cutting both pieces out at the same time)
  6. Now you are ready to begin stapling around the edges of your flower. It takes a lot of staples. I tend to put a staple every 1 1/2 to 2 inches. You want to it to stay together and you don't want your stuffing to come out or to have big gaps around your flower. For this particular project, I stapled 2-3 petals, then stuffed those petals with plastic grocery sacks, then stapled a couple more petals and stuffed some more. Continue doing this until you get all the way around your flower. Do not over stuff your flower or it will be hard to staple the edges together.
  7. Finally, attach some festive ribbon to the top 2 petals of your flower and you're done! Hang your beautiful creation on your front door.
Over the past year, I have made several of these easy door decor designs. Here are a few more that made an appearance on my front door this year. Both of the designs below were made out of leftover Christmas wrapping paper, so there was no painting involved! Super easy!
Valentine's Day

St. Patrick's Day

Thank you for joining me on my first official post! I hope you find this project to be fun and easy. The possibilities are endless!

Have a blessed day!