Monday, June 27, 2011

Fruit Dip


While at Kroger this morning, I came across some beautiful, bright red strawberries. I immediately decided to pick up the ingredients to make my favorite fruit dip. It's so simple. Only 3 ingredients. Great with any fruit.

Here's what you need:

8 oz. cream cheese
7 oz. marshmallow cream
2-3 Tbs. orange juice

1. Soften cream cheese in a bowl in the microwave (approx. 45-60 seconds). Stir well until it's smooth and has no lumps.

2. Next, put the jar of marshmallow cream in the microwave and heat until it puffs up out of the jar an inch or 2. Remove from microwave and carefully add to the softened cream cheese.

3. Finally, add orange juice and stir well.

4. Refrigerate for approx. 1 hour or until it thickens up more.

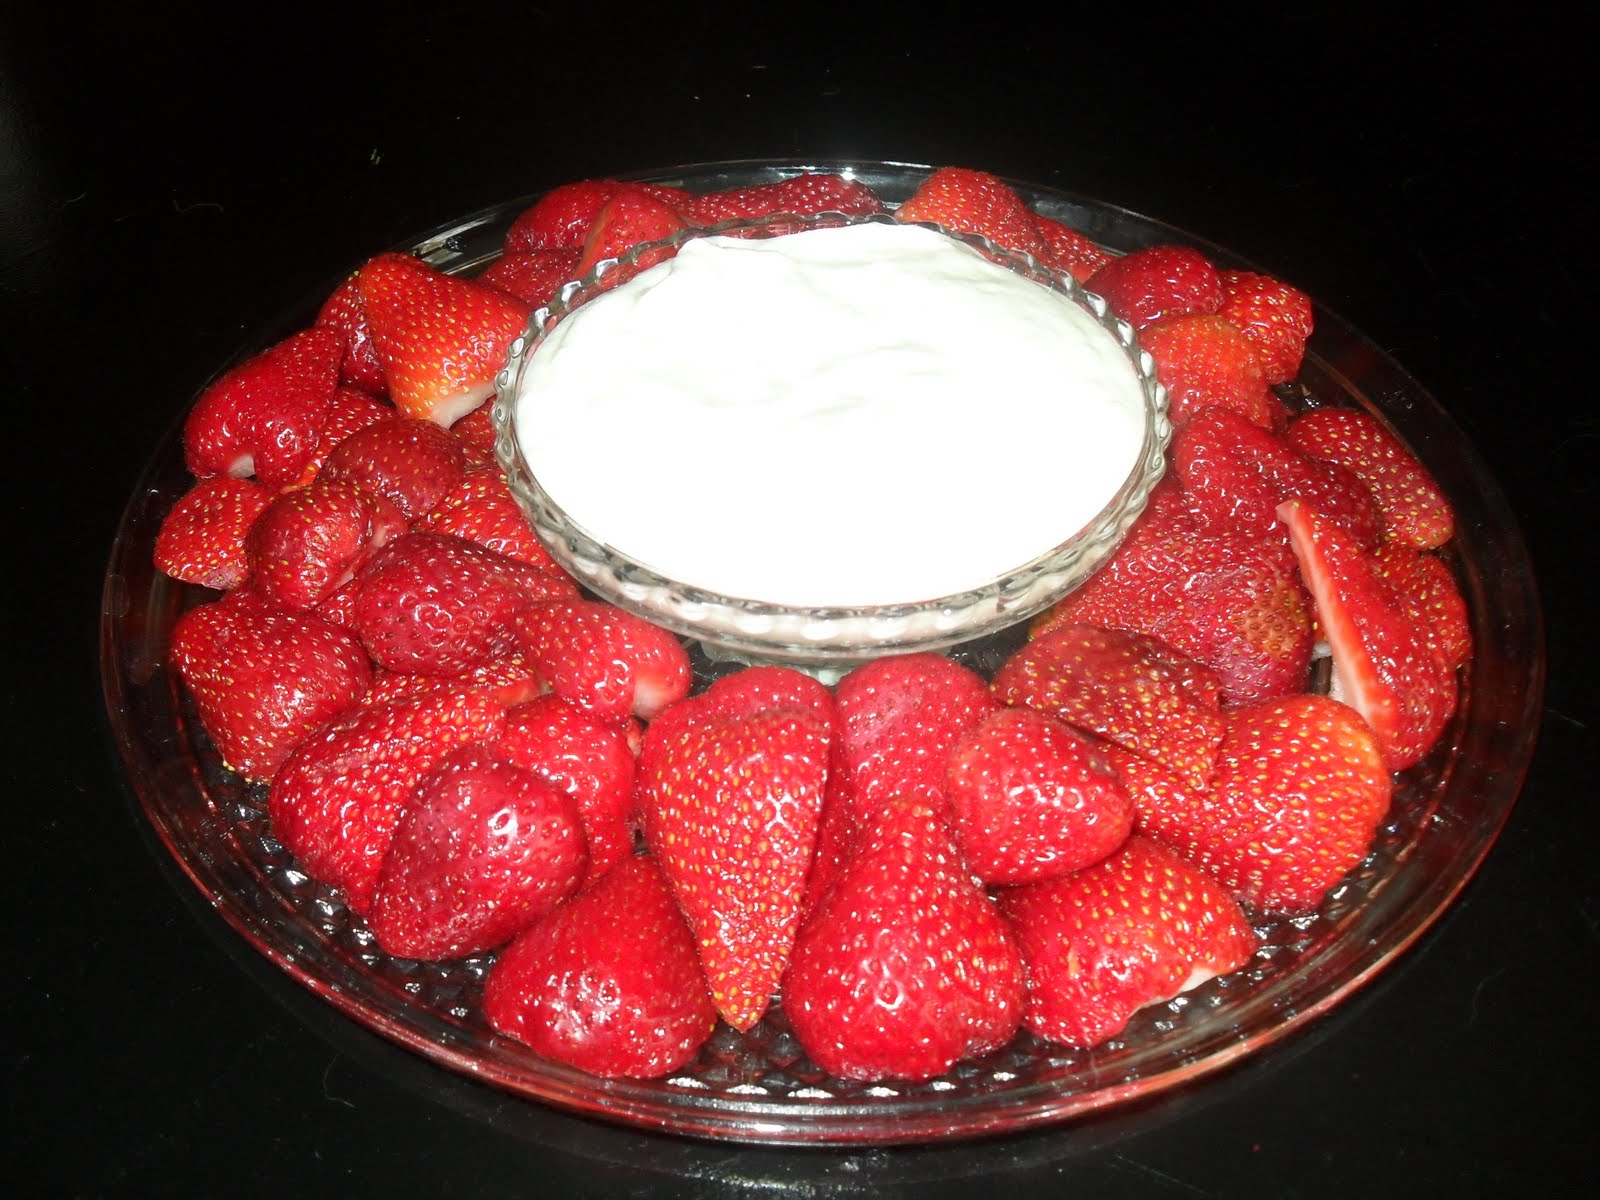
5. Serve with your favorite fruit!

Enjoy!

Friday, June 17, 2011

Last Minute Father's Day Door Decor

Hey Y'all,

I can't stop making these quick and easy door decorations!! I was thinking about what I wanted to do for Father's Day this Sunday and I thought it would be fun to make something to go on my front door. So, once again, I turned to the quick and easy door decorations I've been making, as detailed in this post. What better to make for Father's Day than a giant tie!

Here are some pictures I took as I made this giant tie:


1. Take a piece of brown packing paper and fold it in half. Draw out the shape of a tie. Paint the tie your base color. In this case, I used a Leaf Green acrylic paint. Allow to dry.

2. Next, paint a design on your tie. I chose to paint big orange polka dots on my tie. Then you want to outline the tie with black paint.

3. Then I designed and cut out vinyl letters on my Silhouette machine that say "Happy Father's Day." If you do not have a cutting machine, you could simply paint the words on your tie or even use large stickers that you get at any craft store.

4. Cut out the tie, being sure to cut out both layers of paper at the same time. Then begin stapling the sides together until you work your way around the tie. Leave one side unstapled. Then stuff it with extra paper, grocery sacks, etc. Here I used the scraps that were left over from cutting out the tie. Waste not, want not! Then finish stapling up the tie.

5. Next attach a wire loop to the back of the tie (at the top) so that you can hang it on your door.

And there you go! A super easy (and inexpensive) Father's Day door decoration!

Happy Father's Day to all the Dads out there!

Monday, June 13, 2011

Monogram Wall Art


Now that school is out and I'm off work for the summer, I intend on making up for all the lost creative time during the school year. This may be my new favorite thing! This was my first attempt at painting something with a zebra print. Before today, I probably hadn't done any painting since before Christmas. Since I got my new favorite "toy" (aka Silhouette machine) a few months back, I've been monogramming all sorts of things. I decided that the walls in my bedroom needed a little something that was "fun," so I decided to try out this little project.

For this project, you will need:

12 x 16 canvas board
acrylic paints (I used Black and Caribbean Blue)
blue painters tape
paint brushes in various sizes
Silhouette machine
black vinyl
ribbon
ruler

1. Use your Silhouette machine to design and cut out your monogram. I made my monogram approximately 8" x 10.5". Peel off the negative space and transfer monogram to transfer paper. Set aside to use later in the project.

2. Tape off the borders of your canvas with blue painters tape so that you can paint the inside block a single color. I used Caribbean Blue. I made my borders 2" wide on the short sides and 1.5" inches on the long sides.

3. Paint the inside block of the canvas your desired color. Allow to dry and repeat with a second coat. Allow to dry completely and remove blue painters tape.

4. Next, lightly draw your desired design around your border. In this case, I drew zebra stripes.

5. Apply blue painters tape to the inside edge of your border. You will be putting the painters tape temporarily on top of the color you painted in the center earlier. Using painters tape will give you a clean, crisp edge for your border print.

6. Paint out your border design. In this case, I used black paint. This design is a little time consuming, but I love the effect. Allow to dry completely and remove the blue painters tape. Do any touch ups that are necessary.

7. Apply the monogram to the center of the canvas board, making sure that it is centered on all sides.

8. Attach some fun ribbon to the back as a hanger and you're done!


If this is too much work for you or not your cup of tea, I am selling these customized wall art pieces for $40. You can choose your colors and your border design (zebra, stripes, polka dots, etc). You can also put your name (first or last) instead of the monogram, if you choose. It is completely customizable. Just send me a quick email to melony.fielder@sbcglobal.net and I'll contact you to place your order!

Keep on creating!
Melony

Live All In

A few weeks ago, our church learned that one of our teaching pastors would be leaving to take a job with another church in California. While we are very sad that they will be moving away, I was struck by his obedience to God and God's will for his life, no matter the cost. A couple weeks ago, he delivered his final sermon at Fellowship. He talked about living "All In" for God, no matter where that may take you or no matter the cost.

He challenged us to look and see if our living is all about Jesus, or do we compartmentalize Jesus to certain areas of our life. Are we willing to serve and speak the Truth to others, no mater the cost? Are we committed to "doing life" in relationships with others? He reminded me that the greatest investment we will ever make is in people. Being in the lives of people, not just passing through. I wonder if sometimes I feel I am too busy, or afraid of rejection or sadly maybe even too lazy to really invest in the lives of the people God has placed around me. Then I wonder why it is that I feel alone at times. He encouraged us to love people enough, that when you have to leave them, you cry.

As I examine my life, I realize that I have not been living "all in." It's easy to make excuses for why we don't do this or that. But excuses do not matter to God. God didn't just ask us to "start," He asked us to "finish" the course. Are you living "All In" for Jesus? Are you invested in the lives of the people God has placed in your life? Are you willing to follow where Jesus calls you, no matter the cost? I have challenged myself to really start to "Live All In" for Jesus. I need to be more present in my life. Listening to Jesus' voice. Are you listening? Where is he calling you?


To remind myself that I want to "Live All In," I made this simple wall art. It's nothing fancy, but I'm hanging it just outside my closet, so that I will see it every morning when I get up. It will serve as a reminder to me of the re-commitment I want to make in my life, to Jesus and to those around me.

Have a blessed day everyone!
Melony

Thursday, June 9, 2011

Easy Chicken Tacos

This recipe is one of my kids absolute favorites and it's one of my favorites because it is sooo easy! Now that I am a working woman again, it's great to be able to put it in the crockpot in the morning and know that when I get home, it's ready.

Here is what you will need for this recipe:

3-4 boneless, skinless chicken breasts (frozen is fine)
1 can chicken broth (I use reduced sodium broth)
2 pkg. taco seasoning

1. Pour chicken broth in crockpot. (If you do not have a can of chicken broth, you can use 2 cups of water with 2 chicken bullion cubes, crushed and stirred into water.)

2. Add both packages of taco seasoning. Stir to combine with broth.

3. Add chicken breasts, making sure that the chicken is mostly covered by the broth mixture. If you are going to be gone all day, you can add a little water to make sure there is enough liquid covering the chicken.

4. Cover with lid and cook on low all day. If you need them done sooner, you can cook it on high for 4-5 hours.

5. If possible, 1-2 hours before serving, shred chicken with forks and let it soak up more of the seasoned juice. (If I'm home during the day, I start shredding it earlier in the day and let it continue cooking.)

6. Serve on flour tortillas with your favorite taco toppings.

Enjoy!!

Blue Ribbon Strawberry Pie


Each year my family anxiously awaits the beginning of the fresh strawberry season. It's because of this pie! This pie is one of my all-time favorites and so simple to make. Back when I was a child, I actually won a blue ribbon at the Washington County Fair with this recipe. The blue ribbon is long gone, but my memories of sharing this pie with family and friends, still remain. My mother taught me how to make this incredible pie and I thought I would share it with you.

Here is what you will need for this pie:

1 cup water
1 cup sugar
2 Tablespoons Light Karo syrup
3 1/2 Tablespoons cornstarch
3 Tablespoons strawberry Jello (unprepared powder straight from the box)
dash of salt
1/2 teaspoon red food coloring (optional)
fresh strawberries, washed, dried and hulled
1 regular pie crust (not deep dish crust) empty baked according to package directions

1. In a non-stick sauce pan, combine water, sugar, Karo syrup and cornstarch. Stir until smooth and cook on medium-high heat, stirring regularly until it bubbles and thickens up.

2. Then add the strawberry Jello powder and red food coloring. Remove from heat and allow to cool for about 10 minutes (it does not have to be totally cooled before you use it), while you get your strawberries ready.

3. Cover the bottom of your pre-baked pie shell with strawberries, with the points facing up. Arrange the strawberries as tightly together as you can. You can also cut up a few strawberries to fit into the empty spaces between the whole berries. (If you prefer an easier to cut pie, go ahead and cut up ALL the strawberries, instead of leaving them whole. When I'm making this pie for my family, I usually cut up all the strawberries, but when I'm taking it to someone, I leave them whole for a prettier presentation! See picture below)

4. Next, carefully pour the strawberry/jello mixture over the strawberries, making sure that each strawberry gets covered with the mixture. Do not overfill!! If you fill it to the edges, it will overflow in the fridge, once some of the gel slides down off the berries. You will NOT use all of the strawberry/jello mixture.

5. Chill pie in the refrigerator for 3-4 hours so that the gel is set. Serve with whipped cream.

NOTE: I have found that if you DOUBLE this recipe, that you have enough strawberry/jello mixture to make 3 pies.

Here is a picture of what the pies look like if you cut up the strawberries, instead of leaving them whole. I took these pies out to the dealership that sold me a new vehicle this week! They were a big hit!
I hope you enjoy this pie as much as we do! It just tastes like summer to me!

Have a blessed day,
Melony

Wednesday, June 8, 2011

Easy Giant Flower Door Decor


For my first official post, I thought I would share a super easy way to make something fun for your front door. I love having decorations on my front door and I love to change them out regularly for all the various holidays/seasons. In order to do that, it has to be something relatively quick and inexpensive to make. This project uses very little supplies and doesn't require special tools or extensive crafting ability. I originally got this idea from my wonderfully artistic friend, Stacy, who shared how to make a giant pumpkin door decoration in this post.

I made this fun giant flower last week when I wanted something bright and summery to go on my door. Here is what you will need to make this project:

brown package mailing paper
acrylic paint
black sharpie
stapler
something to stuff it with (grocery bags, newspaper, etc)
ribbon

  1. First, start by lightly drawing your design onto your paper. I actually used the lid of a cookie jar to make the center of my circle. Then I took a piece of computer paper and cut out a shape for a petal. Then I simply traced the petal shape around the center circle, making sure that they petals overlapped quite a bit.
  2. Now the fun begins! Paint your flower in your favorite summertime colors. I chose a bright yellow for the center and hot pink for the petals. Make sure the colors you choose are bright and contrast with your door color. That way, your pretty flower will show up great from the street. (Note: My front door is protected with a glass storm door, so my flower will be protected from the weather. However, if your flower will not be protected, you should probably put a couple coats of Mod Podge or a spray on sealer on the front and back sides of your flower to protect all your hard work.)
  3. After the paint has dried, take a black sharpie and outline your flower. I tend to use a series of "dots" and "dashes" to outline my drawings, instead of one continuous line. Do whatever makes you happy. After all, this is your creation and there are no rules here! I also decided to add a scripture verse around the center of my flower.
  4. Next, take a second piece of brown paper that is the same size as the one with the flower on it, and place it underneath that page, making sure to line up the edges. Next, go around the edges of your paper and staple the two sheets together in a few places on each side. This will keep your two pages together and you can cut both pages out at the same time. This will insure that the front and back sides of your decoration are the same size and match up perfectly.
  5. Cut out your flower. (Cutting both pieces out at the same time)
  6. Now you are ready to begin stapling around the edges of your flower. It takes a lot of staples. I tend to put a staple every 1 1/2 to 2 inches. You want to it to stay together and you don't want your stuffing to come out or to have big gaps around your flower. For this particular project, I stapled 2-3 petals, then stuffed those petals with plastic grocery sacks, then stapled a couple more petals and stuffed some more. Continue doing this until you get all the way around your flower. Do not over stuff your flower or it will be hard to staple the edges together.
  7. Finally, attach some festive ribbon to the top 2 petals of your flower and you're done! Hang your beautiful creation on your front door.
Over the past year, I have made several of these easy door decor designs. Here are a few more that made an appearance on my front door this year. Both of the designs below were made out of leftover Christmas wrapping paper, so there was no painting involved! Super easy!
Valentine's Day

St. Patrick's Day

Thank you for joining me on my first official post! I hope you find this project to be fun and easy. The possibilities are endless!

Have a blessed day!